Create Unique Image Bracelets with Custom Design Process
In a world where self-expression is increasingly valued, image bracelets have emerged as a popular accessory choice. These unique jewelry pieces allow individuals to carry their cherished memories and personal stories close to them. If you’re considering a custom image bracelet, understanding the handcrafting process can enhance your appreciation and inform your design choices. This blog will guide you through the step-by-step process of creating your own hand-crafted image bracelet, ensuring that your piece is as unique as you are.
Understanding Image Bracelets
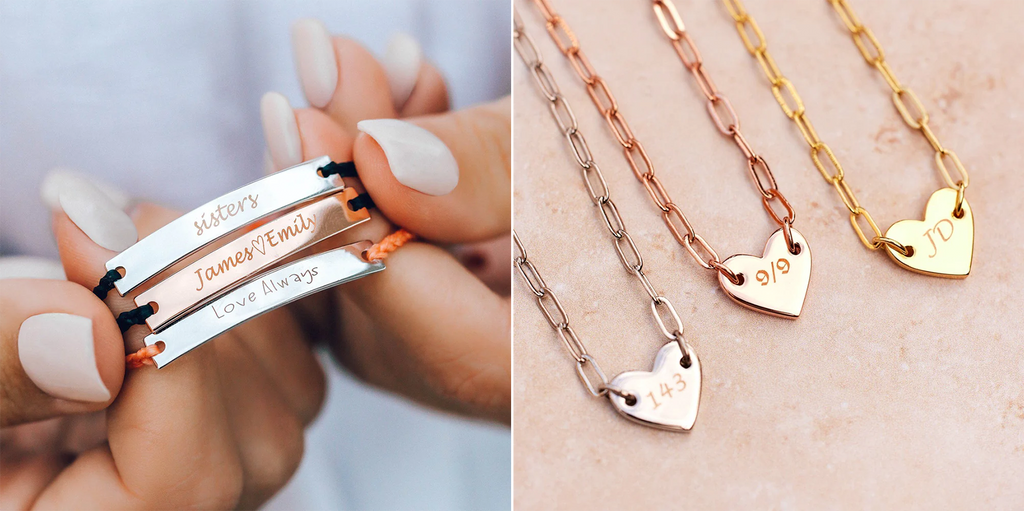
Image bracelets are not just accessories; they are personal artifacts that tell your story. They can feature photographs of loved ones, pets, or meaningful symbols that resonate with the wearer. The customization process is straightforward, making it accessible for everyone, from beginners to seasoned jewelry makers.
The Appeal of Customization
Customization allows for a personal touch that mass-produced jewelry simply cannot replicate. With image bracelets, you can:
-
Showcase Personal Memories: Whether it’s a cherished photo or a significant date, these bracelets serve as a daily reminder of what matters most.
-
Express Individual Style: You can design a bracelet that reflects your unique aesthetic, integrating colors and styles that complement your wardrobe.
-
Create Meaningful Gifts: Personalized jewelry makes for heartfelt gifts that are perfect for birthdays, anniversaries, or just because.
The Handcrafted Customization Process
Creating your own image bracelet can be a rewarding experience. Here’s a detailed look at the steps involved:
Step 1: Gather Your Materials
Before you begin designing, ensure you have all necessary materials:
- Bracelet Base: Choose from a variety of styles such as bangles, cuffs, or charm bracelets.
- Photo or Image: Select a high-resolution image or design that you want to feature. This could be a family photo, a vacation snapshot, or a graphic design.
- Transfer Paper: This special paper is necessary for printing your image.
- Adhesive: A strong glue that can handle the materials used in your bracelet.
- Tools: Scissors, a ruler, and possibly jewelry pliers for assembly.
Step 2: Prepare Your Image
Once you have your materials, it’s time to prepare your image:
-
Select the Right Image: Choose a photo that resonates with you. It should be clear and well-lit for the best results.
-
Resize and Print: Using photo editing software, resize the image to fit your bracelet base. Print this image onto transfer paper, as it will allow for a clear transfer onto the bracelet.
-
Cut to Size: Carefully cut out the image, ensuring it fits snugly onto your bracelet base.
Step 3: Attach the Image
With your image printed and cut, it’s time to attach it to the bracelet:
-
Apply Adhesive: Use your adhesive to coat the back of the photo. Be generous but avoid over-saturating the paper.
-
Position the Image: Carefully place the image onto the bracelet base. Ensure it is centered and aligned as desired.
-
Seal the Image: To protect your image, consider applying a layer of clear sealant or resin over the top. This step adds durability and shine while preventing wear and tear.

Step 4: Final Assembly
After the image is secured and sealed, it’s time to finish your bracelet:
-
Add Embellishments: If desired, incorporate additional charms, beads, or decorations that enhance the overall design.
-
Let It Cure: Allow the bracelet to dry completely, following the adhesive and sealant recommendations to ensure a lasting hold.
-
Wear or Gift: Once fully dry, your custom image bracelet is ready to be worn or gifted, embodying your personal memories and style.
Tips for a Successful Customization
To ensure your image bracelet turns out perfectly, consider the following tips:
-
Choose Quality Images: The clarity of your image will significantly affect the final product. Opt for high-resolution images.
-
Experiment with Designs: Don’t be afraid to experiment with different layouts, colors, and additional elements to create a visually appealing piece.
-
Test Adhesives: Different adhesives work better with different materials. Make sure to test the glue on a small piece before applying it to your bracelet.
-
Follow Tutorials: Numerous online resources, including Instructables, can provide additional guidance and inspiration.
Exploring Professional Customization Options
For those who may feel overwhelmed by DIY projects, there are many professional services available. Websites like Wear Fortune offer beautifully crafted image bracelets that can be customized to your specifications. This option provides:
- Expert Craftsmanship: Professionals have the skills and tools to produce high-quality pieces.
- Time-Saving Convenience: Skip the DIY hassle and receive a finished product delivered to your door.
- Variety of Styles: Choose from a range of styles, materials, and designs that suit your taste.
The Emotional Connection of Image Bracelets
Beyond aesthetics, image bracelets hold profound emotional significance. Each piece encapsulates memories, milestones, and personal journeys. Whether you wear it as a daily reminder of a loved one or as a symbol of your life experiences, it serves as a physical representation of what you cherish most.
The Power of Personal Stories
When you gift an image bracelet, you are offering more than just a piece of jewelry; you are sharing a story. These personalized tokens can commemorate special occasions such as weddings, anniversaries, graduations, or even friendships. The sentiment attached to such gifts often carries more weight than their monetary value.
Marketing Your Custom Image Bracelets
If you are an artisan or hobbyist interested in selling your custom image bracelets, consider the following marketing strategies:
-
Leverage Social Media: Platforms like Instagram and Pinterest are excellent for sharing visuals of your work. Use relevant hashtags to reach potential customers.
-
Create a Compelling Website: Establishing a dedicated website can help showcase your products and tell your story, creating a more personal connection with your audience.
-
Engage in Craft Fairs: Local craft fairs allow you to meet customers face-to-face and showcase the quality of your work.
-
Utilize Online Marketplaces: Sites like Etsy and Shopify provide a platform for artisans to reach a wider audience without the need for a physical storefront.
Final Thoughts on Custom Image Bracelets
Creating a custom image bracelet is more than just a crafting project; it’s a journey of self-expression and personalization. Whether you choose to make it yourself or opt for a professional service, the resulting bracelet will encapsulate a story that is uniquely yours.
By embracing the customization process, you not only create a beautiful piece of jewelry but also forge a deeper connection to your memories and experiences. So why wait? Start your image bracelet journey today and carry your stories with you wherever you go.


